Its just one of those things. Everything is great in your tenant all best practise, no creaky old servers anywhere then the phone rings and someone from the BI team says they need an hourly output of some stuff in csv and the columns have to be in a particular order. Or someone NEEDS a list of F3 users with a department of “Janitorial” with 1.75GB and over mailboxes emailed to them every morning at 08:35. Or…something.
My musings on function apps and power platform are all around trying to not do what we have all at some point done – spin up a server, throw together some scripts and Task Schedules and embed some credentials, sure with an encrypted password used as a secure string. The problem is at that point you have an escalated account with a long running password that cant do MFA. or with a short running password that gets changed really often. You’re password is secure but if someone gets access to your server they dont need to decrypt it to run commands, they just need to edit the scripts.
Posts on server-less methods for scripting against the environment mention using app registrations or servcie principals instead of identities, this post goes through making one.
Speaking really simply this is a log in with a specific set of permissions that instead of a username and password uses a ClientID and a Client Secret (a long string of random gibberish) or a certificate. With the new(ish) Exchange Online powershell V2 commands you can log in as an app service but only with a certificate so I am assuming this is the way Microsoft are leaning so I only use certificates now.
I am also going through using a self signed certificate, obviously its better to use your PKI in live but to my mind even a self signed cert is a considerable step up from Client Secrets.
Get certificate
First step obviously is to get a certificate. You can generate one from PKI but to create a self signed certificate just run:
New-SelfSignedCertificate -certstorelocation cert:\localmachine\my -Subject M365Reporting -KeySpec KeyExchangeThis will generate a certificate with and exportable private key in the machines personal certificate store with a subject of “M365Reporting”. Note the KeySpec, if you dont specify this it wont work
Export the certificate with the private key as a .pfx with a strong password and save it somewhere extremely safe. Export the raw certificate as a .cer and save this somewhere too.
I also usually import the pfx into the User Certificates “personal” store on my desktop machine as this allows me to use it in scripts directly.
Create App Registration
Open portal.azure.com and Azure Active Directory then jump into App registrations
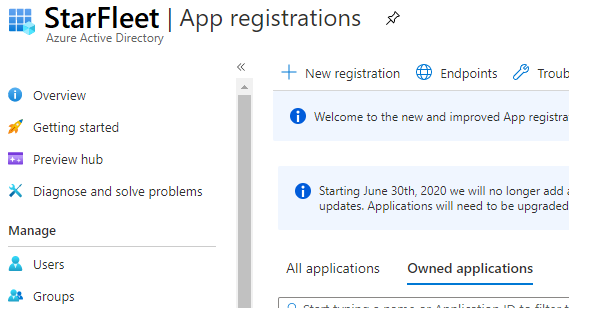
Hit +New Registration, give your app a useful name (“M365 Reports and Functions” in my case) and accept the defaults for the rest.
Once it generates you can open the App and go to “Certificates and Secrets”, hit “Upload Certificate” and upload your cer.
You now have an app that you can log in with. If you stored the certificate in your machines personal store you will be able to log into the AzureAD module and read the directory immediately – just run (The certificate thumbprint is on the certificate, the Application and Tenant Ids are both on the Overview page of your App Registration):
Connect-AzureAD -CertificateThumbprint <YourCertificateTumbprint> -ApplicationId <ApplicationID> -TenantId <TenantId>You can then run Get-azureaduser to fuind a user and details or anything else that just requires directory read.
Set up a Permissions
You are probably going to want to do a lot more than just read the directory. If you go into “API permissions” we can add permissions.
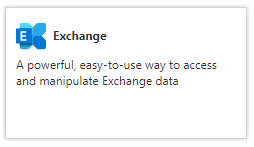
For example to set up your service principal to be able to access Exchange Online you can click “Add a permission” to see all of the availble APIs.
Scroll all of the way to the bottom to “Supported legacy APIs” and Exchange:
The select “Application permissions” and expand “Exchange” so you can tick “Exchange.ManageAsApp”
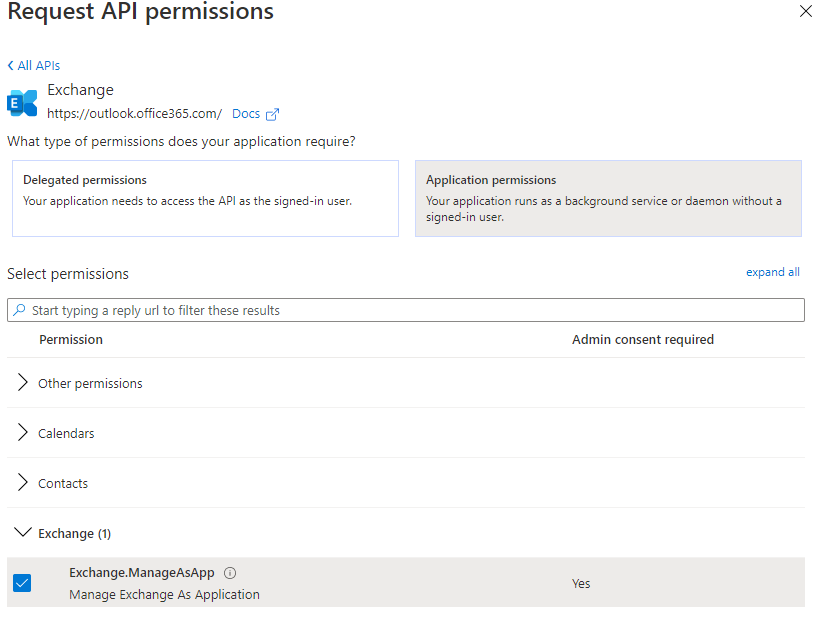
When you hit Add Permission you will add the permission to the list but it will not be active until consent is granted – you need to click “Grant admin consent for <Organisation>”
Exchange is a bit tricksome. This permission gives you access but you cant assign any of Exchange’s extremely granular RBAC capabilities to the service principal so to actually do anything in Exchange you need to add the app as a member of the Exchange admin role in Azure AD.
Just go to the Azure Active Directory | Roles and Administrators blade then open “Exchange Administrator” and hit “Add assignments”. When you search for the account you need to search for the whole name or it wont find it – e.g. “Microsoft 365 Reports and Functions”
This can take a few hours to kick in, but once it does you will be able to run:
Connect-ExchangeOnline -CertificateThumbprint <YourCertificateTumbprint> -AppId <ApplicationID> -Organization starfleet.onmicrosoft.comNote it use different parameter names and the organisation name instead of tenantid. Regardless once compete you can now run your exchange scripts.
Different functions will require different permissions, going forward I’ll try to list them if I write any posts using a service principal
![]()
Looks like Microsoft moved the Exchange Management API under “APIs my organization uses” as “Office 365 Exchange Online” > Exchange.ManageAsApp.